

Naturally after writing a blog post about the landscape palette I curated (read it here!) I felt it was appropriate to do the next one on the kit that the palette lives in. Read on to check out everything in my super portable, travel-friendly, watercolor painting kit.
Before I get into what I choose to put in there, let’s talk about why I have this kit at all. I have a tendency to not only overpack when going to paint somewhere other than my studio. I also overthink as I’m overpacking. Having this kit always thrown together with everything I need often lets me sketch in shorter available sessions. Why? Because, you guessed it, I’m not wasting time assembling what I think I may need.
This kit has many uses. It’s small, easy to bring somewhere, and it takes a lot of guess work out of getting started. I could be bringing it into my yard, on a hike, or to another state. Everything I need is all right here, just add water!
Besides my issue with packing taking time, I also have been in the market for a smaller lighter kit. One that I could always pack on a hike and wouldn’t feel like I wasted pack weight if I didn’t get a chance to use it. I also didn’t want to rely on water brushes. I have a love-hate relationship with them and wanted to find a way to bring all the subtlety of my brushes on the go.
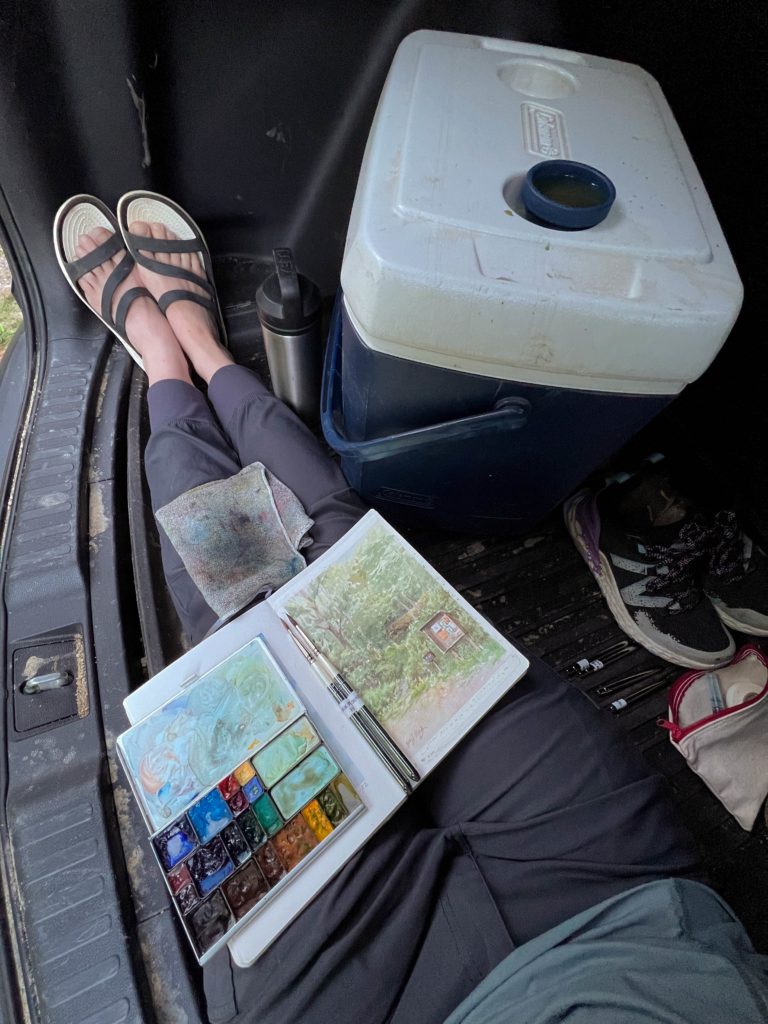
The kit I have here fits that niche perfectly right now and I’ve painted with it in the back of my car, on a bike ride down the road, and on hike summits. While hiking just this past Monday, it didn’t slow me down as I basically took it for a joy ride in my pack because I decided our multiple short breaks weren’t going to allow a sketch. No wasted sweat.
Overview
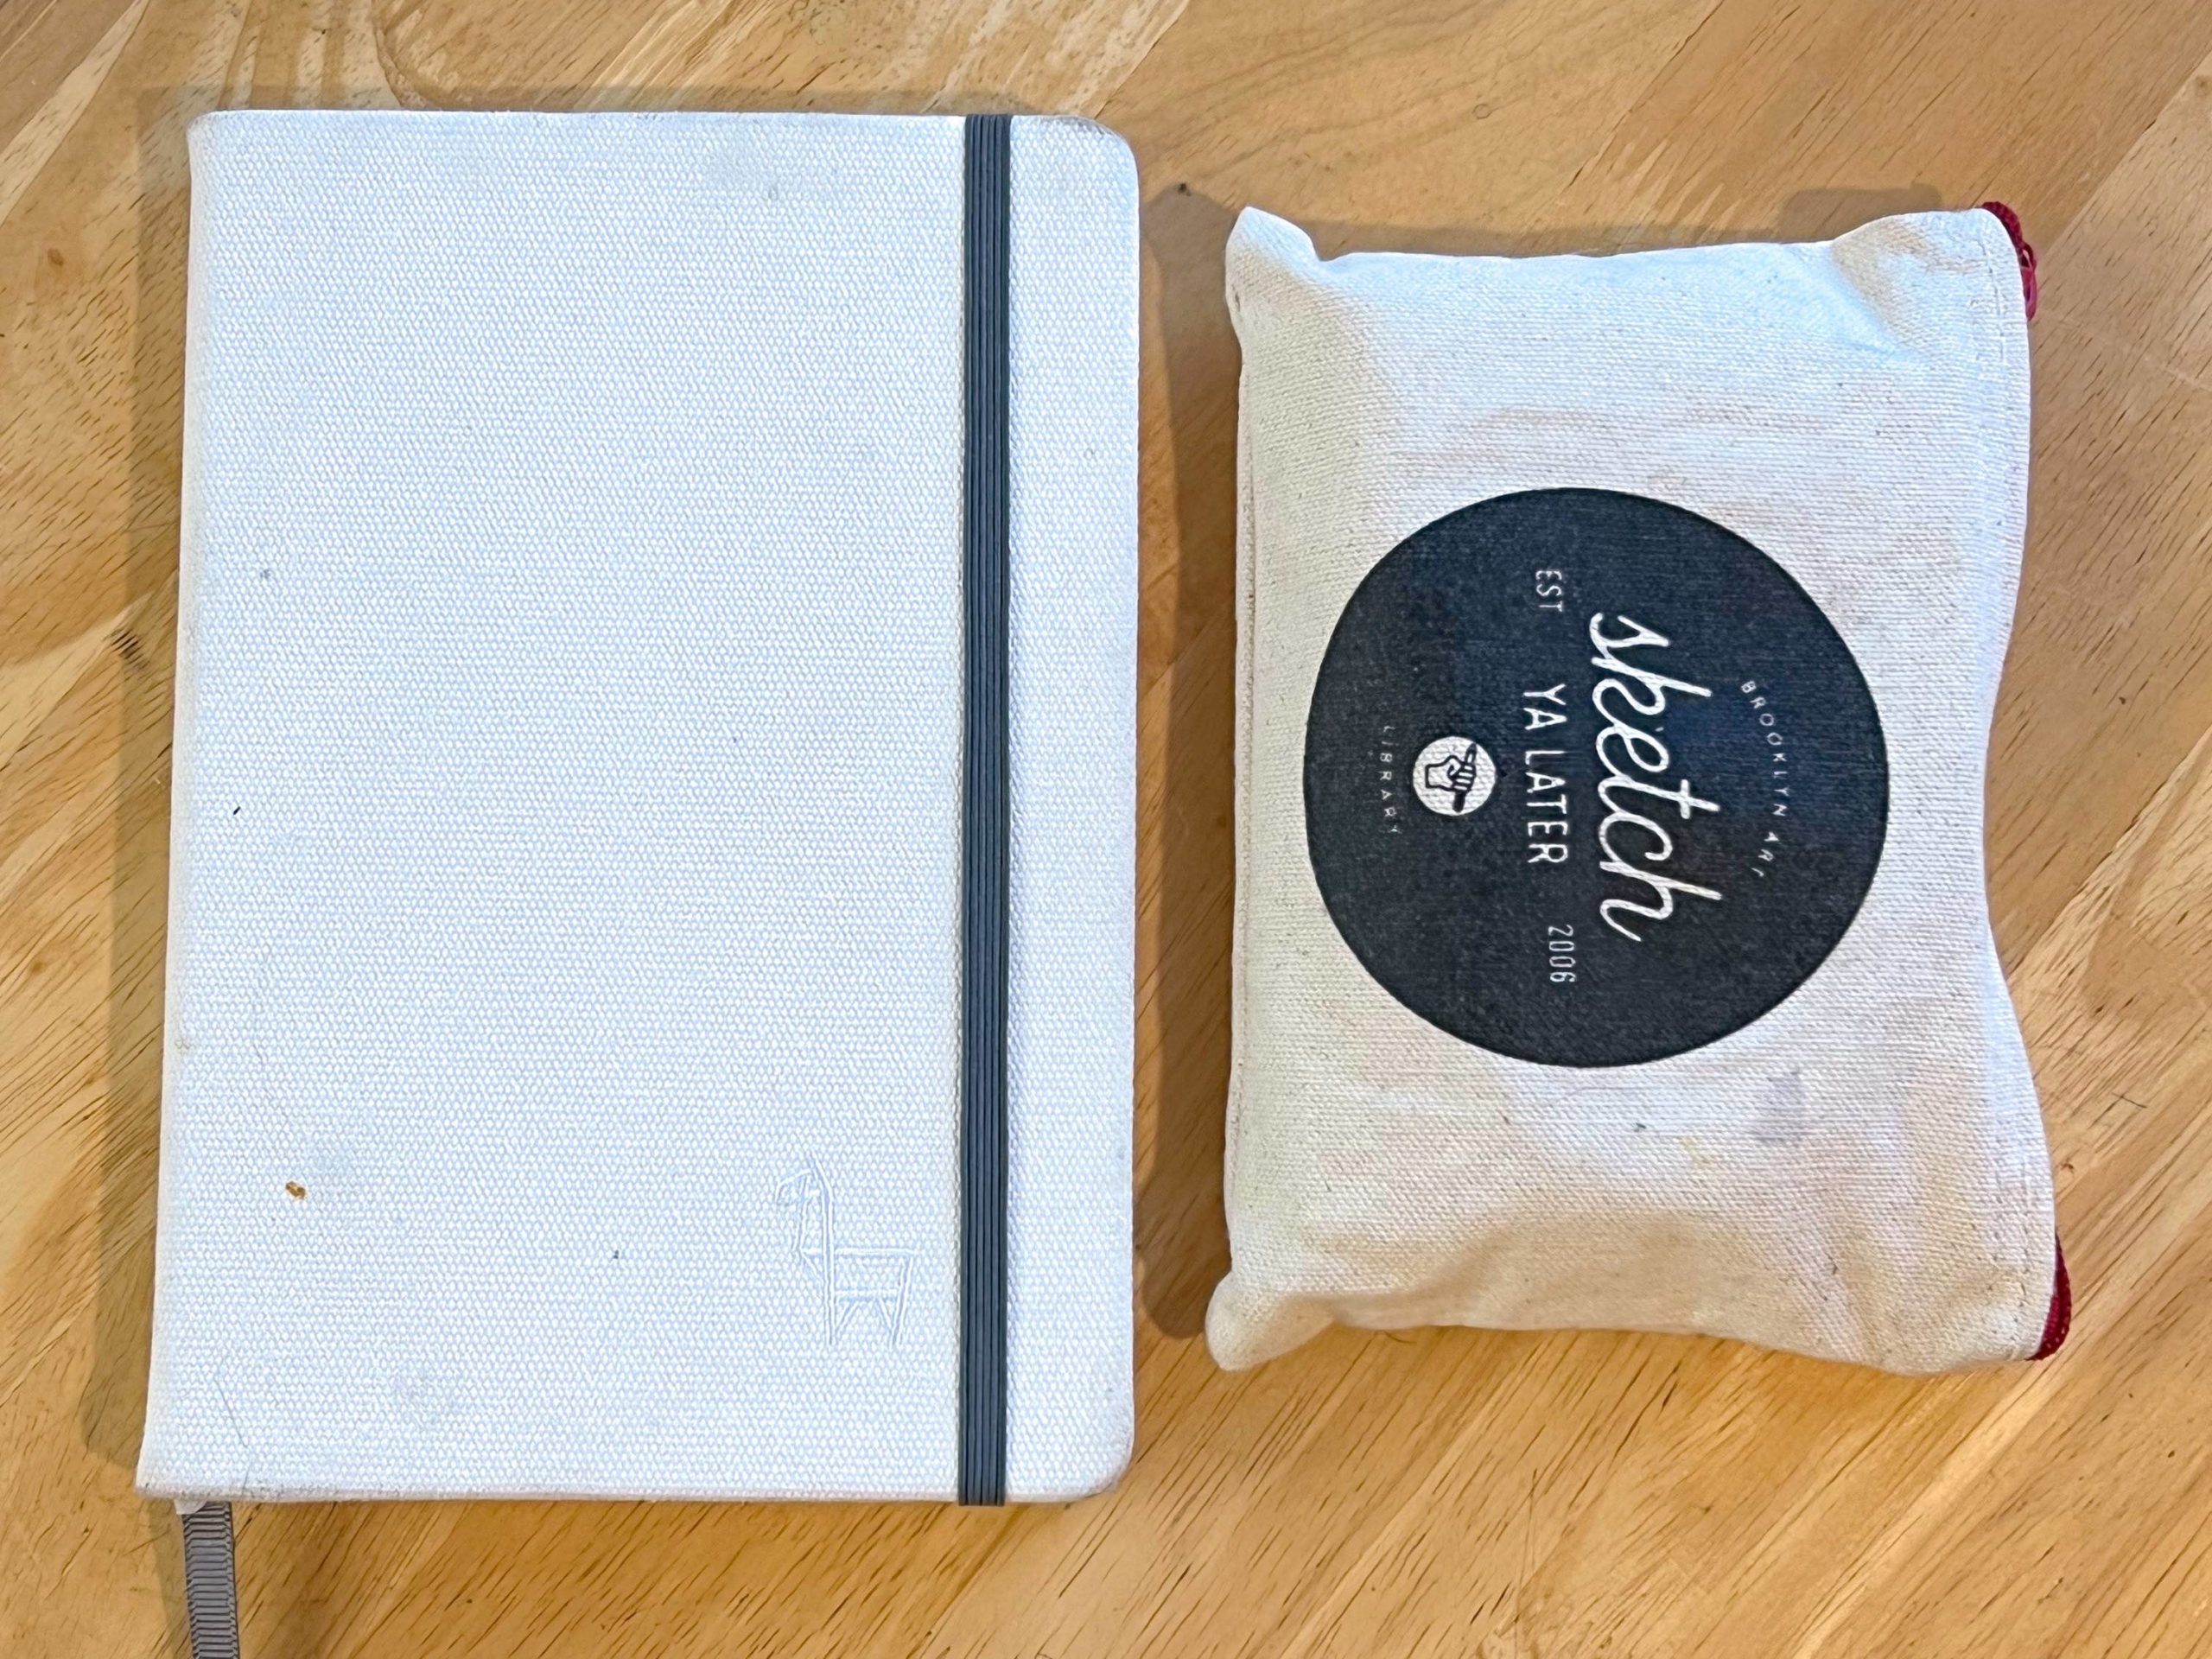
I like to keep my sketchbook separate and put everything else in a simple zip bag. (This art-geek-chic one is from the Brooklyn Art Library.) The basics in the bag are the sketchbook (and page clips), drawing tools (mechanical pencil and eraser which aren’t particular), paint palette, and brushes. I do also bring a rag or a folded paper towel. (They’re not pictured simply because I forgot, and they don’t need further explanation, right?) There’s few optional items in the picture that don’t always get use like the water mister, and a couple of occasional additions/alternates.
But we’ll get to that, let’s start at the top.
I’ll link to things if available. None of these links are affiliate at the time of writing this, just great stuff! Everything here I purchased independently with the exception of the Etchr sketchbook. I did receive that as prep material for the classes I teach with them.
Sketchbook & Sketchbook Accessories
Sketchbook
This summer I’m using an A5 Etchr Sketchbook (140lb, Cold Press) from Etchr Lab. You can go smaller down to an A6 or more to pack even tinier, but I like larger pages. The A5 still fits just right in my hand or lap when I’m working without a surface.
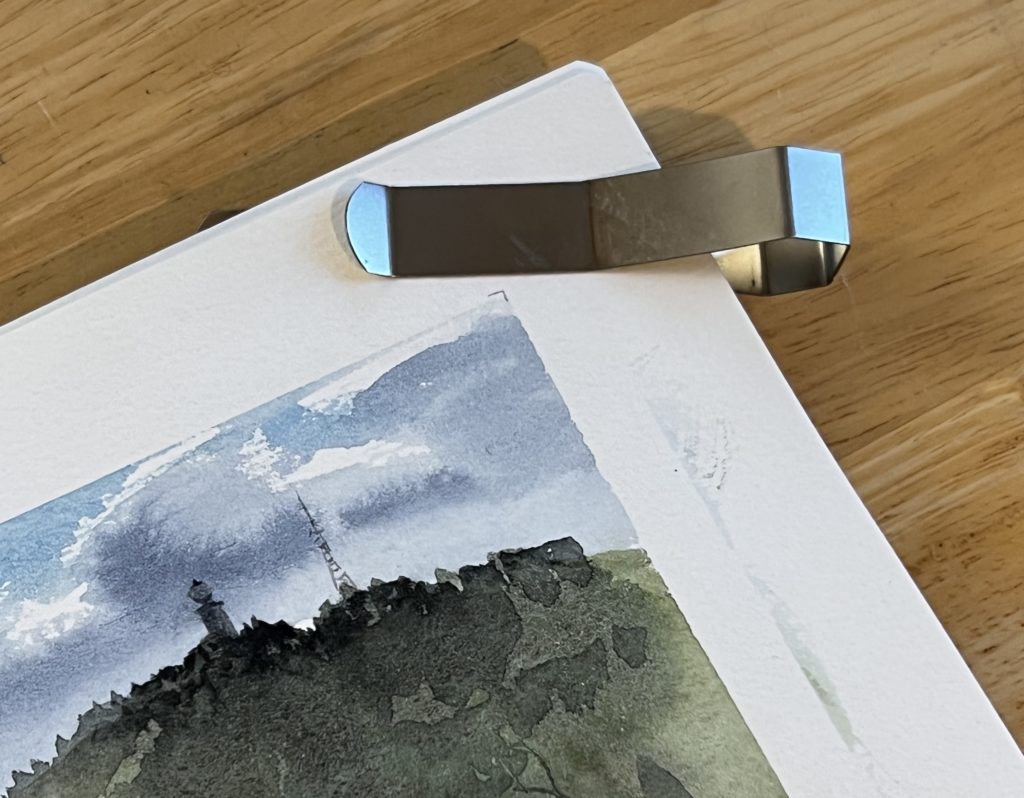
Page Clips
To keep the pages flat and prevent them from turning in the wind I use page clips. These are from St Louis Art Supply. The cover of my palette can also slide under them to keep it from sliding around.
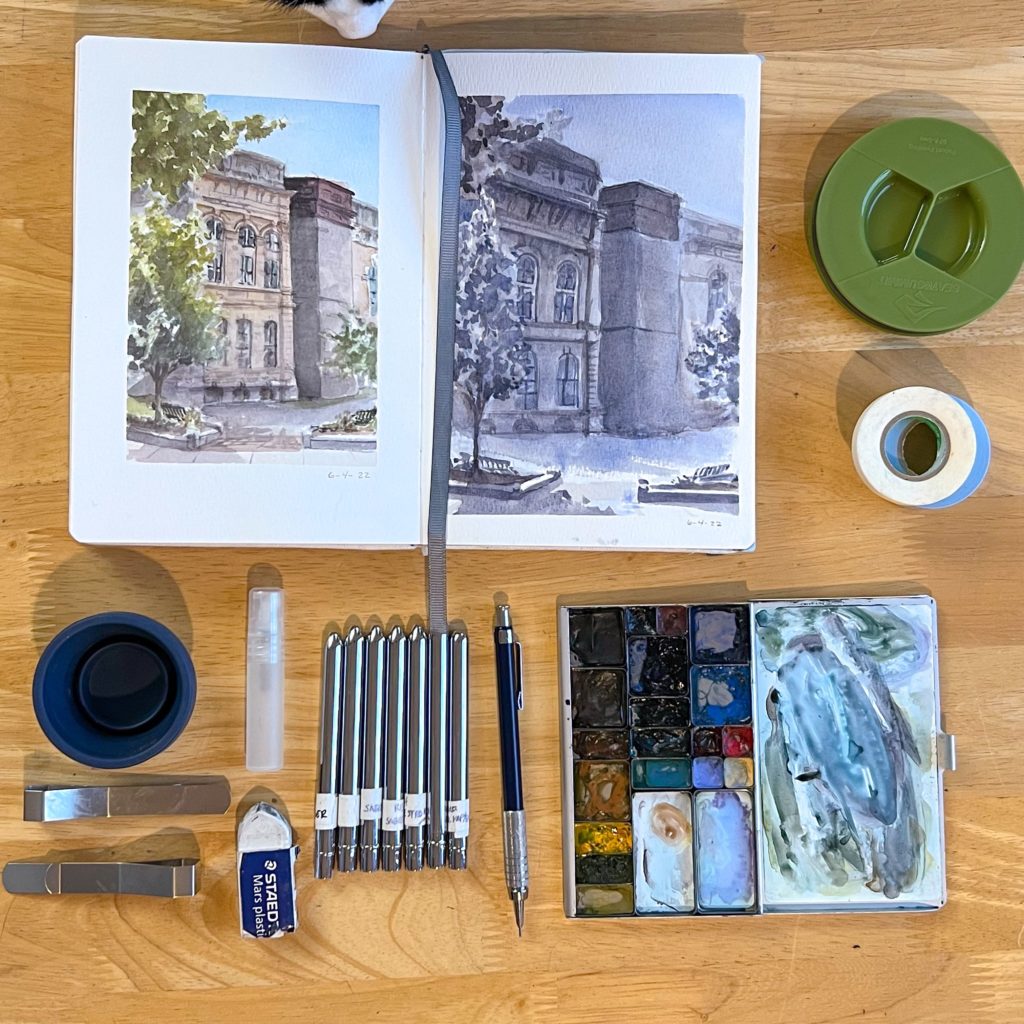
Tape
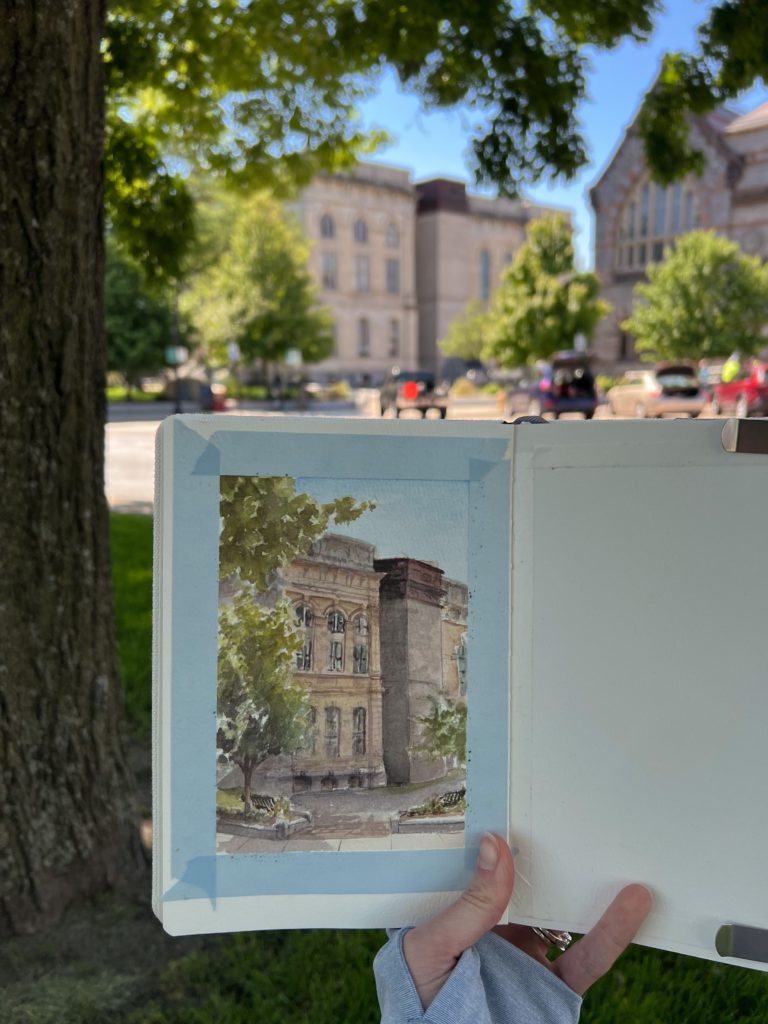
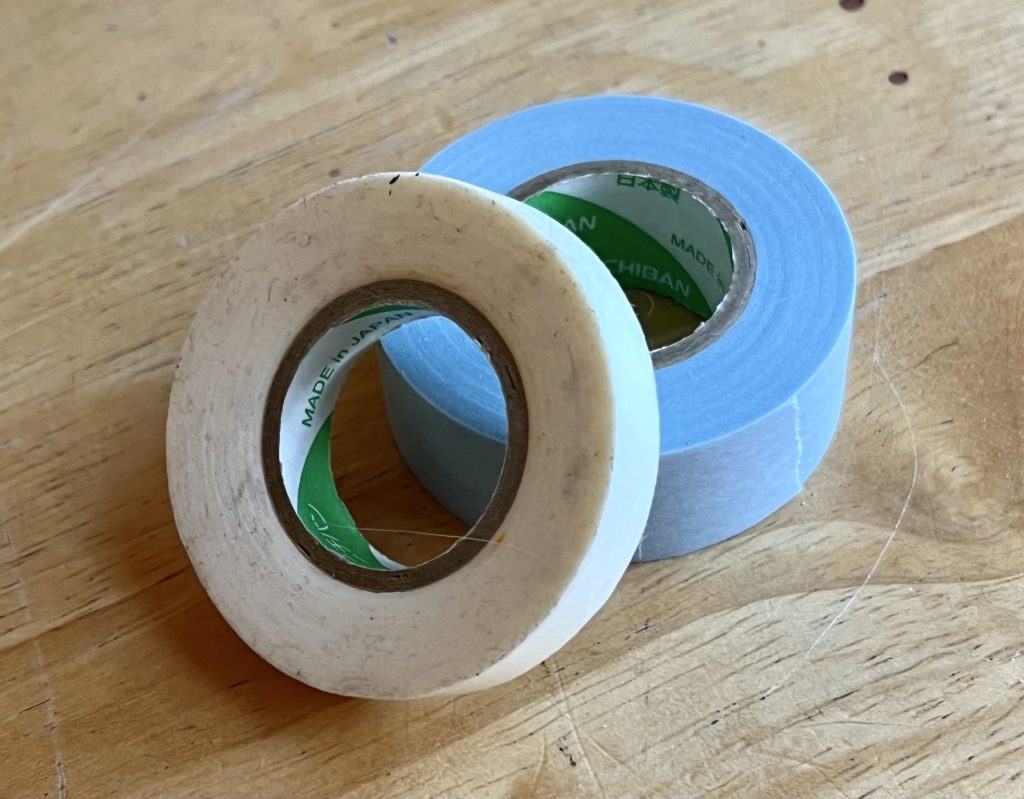
I also usually prep a page or two (depending on how long I think my session may be) with tape. I’ll tape out a rectangle that’s standard size (so 4×6, or 5×7). You can see two different taped out sizes in the picture above from my last urban sketching session. I’m a recent convert to the many different types of Nichiban tape versus thicker artists’ tape. Peeling those clean edged sketches is definitely addictive!
The 1/4″ tape technically is small enough to fit into my kit. I’ve carried it with my when traveling in case I needed more pages taped off. Usually though I like to prep the pages at home where I have an easier time getting the standard measurements correct. The reason I do standard sizes, and don’t just tape the outside of the paper, is if I want to frame one of these quick sketches, I don’t have to shell out extra money to get custom frames or mats.
Portable Watercolor Paint Brushes
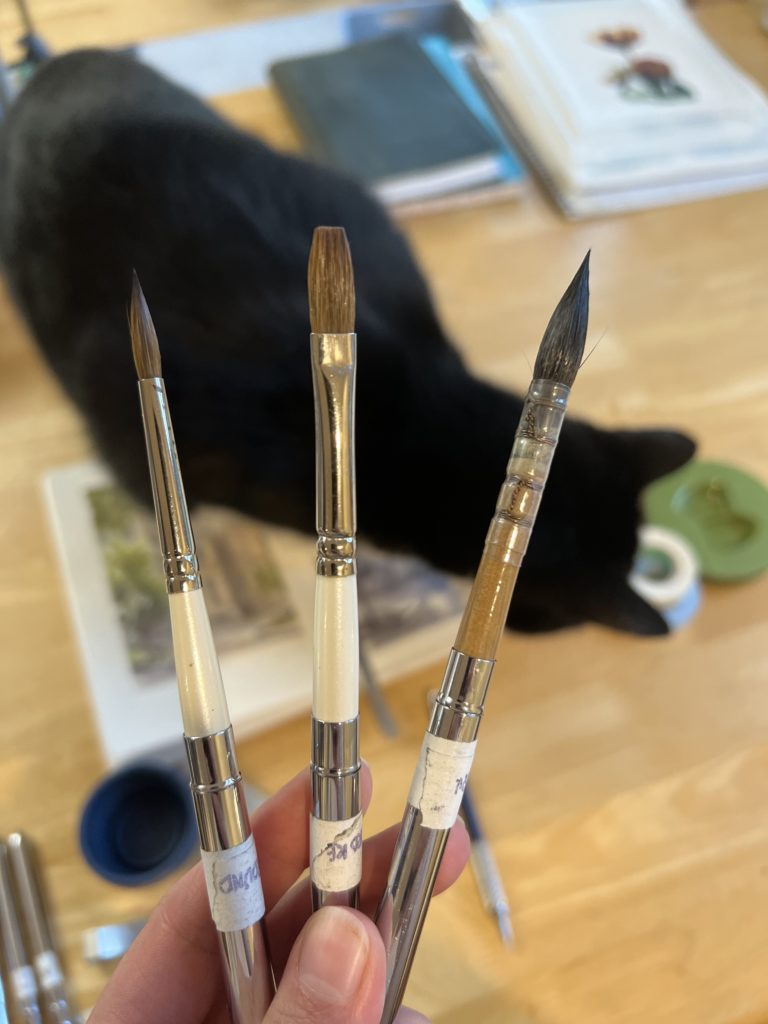
I carry a handful of travel brushes, but honestly I usually use the same three. Pictured are my R9 Medium Squirrel Mop, R1 Sable Round, and R4 Sable One Stroke. All three are from Rosemary & Co.. However, the R4 sable one stroke in their travel series has been replaced with the Red Dot synthetic version. If you live in the USA, you also won’t be able to pick up the R1 at the moment due to a kolinsky hair import ban, Rosemary & Co do have a synthetic size 6 round available though.
Mop Brush
If I need a lot of water and/or it’s really dry, I go with the squirrel mop. It holds way more water than any of the other ones while keeping a great point too. If heat or size of an area to paint isn’t an issue, I’ll reach for one of the others. This fluffy brush is definitely tricky to re-sheath.
One Stroke
I’ve been a convert to the one stroke brush for a few years now. I really didn’t use flats or anything square shaped before. One day I was painting a scene with a building and after using it to block in the straight edges, I just kept using the brush, discovering how versatile it could be. What I like about it is it forces me to think in terms of shape-building rather than drawing. Combining strokes made by pressing the edges or flat sides into interesting marks. It also made it easier to get out of my head while painting trees and foliage. I can just squiggle to create illusion versus trying to accurately depict each clump of leaves.
Pointed Round Brush
The tried and true brush though is always a round, right? The sable round I’ve had for a few years. It continues to be a wonderfully versatile brush from tip to belly. I do try to only save it now for small details or signing my work. This is not because I want to baby it, I just know that if I start a painting with a small brush, I’ll fall into details a little too quickly. I do love me some details though, and this brush is the only I use for that!
Watercolor Paint Palette
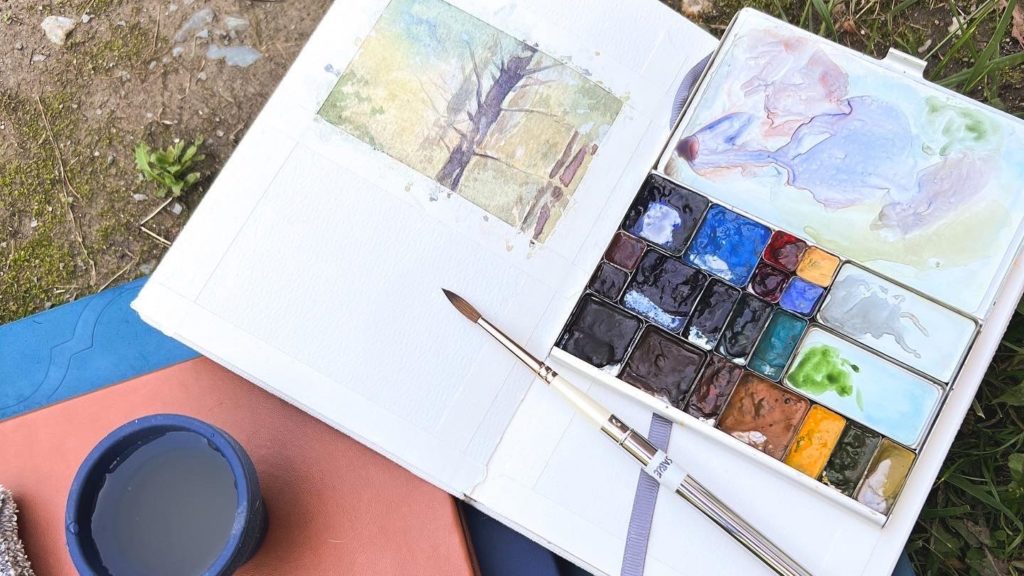
Since I already did a whole blog post about this, I’ll just leave a short bit here. The palette I use is a Folio Palette from Art Toolkit. I use a mixture of refillable and magnetic pans to carry my favorite tube paints. The palette fits in this bag, but also my Etchr Field Case, or my pocket if I’m feeling extra lightweight. (Full disclosure, I’d never put a palette in my pocket, during the summer at least. Some paints turn gooey in the hot weather and can ooze out!)
If I may be using the kit for multiple sessions I’ll thrown in an additional palette with alternate colors. But usually I just have the landscape palette.
Water
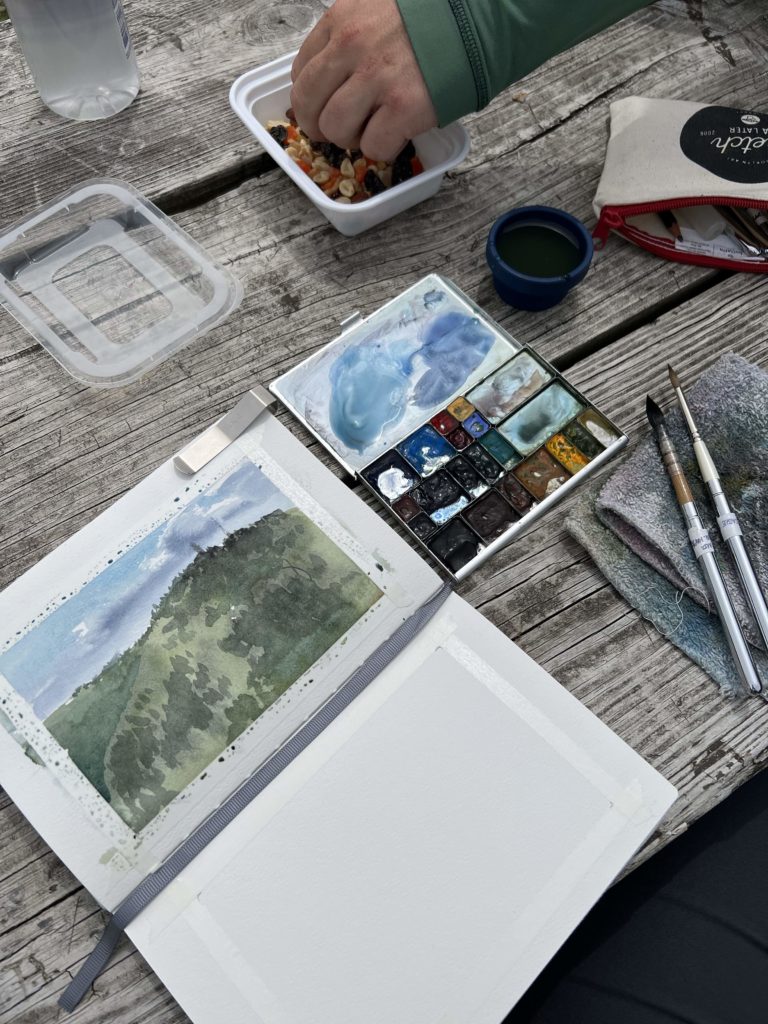
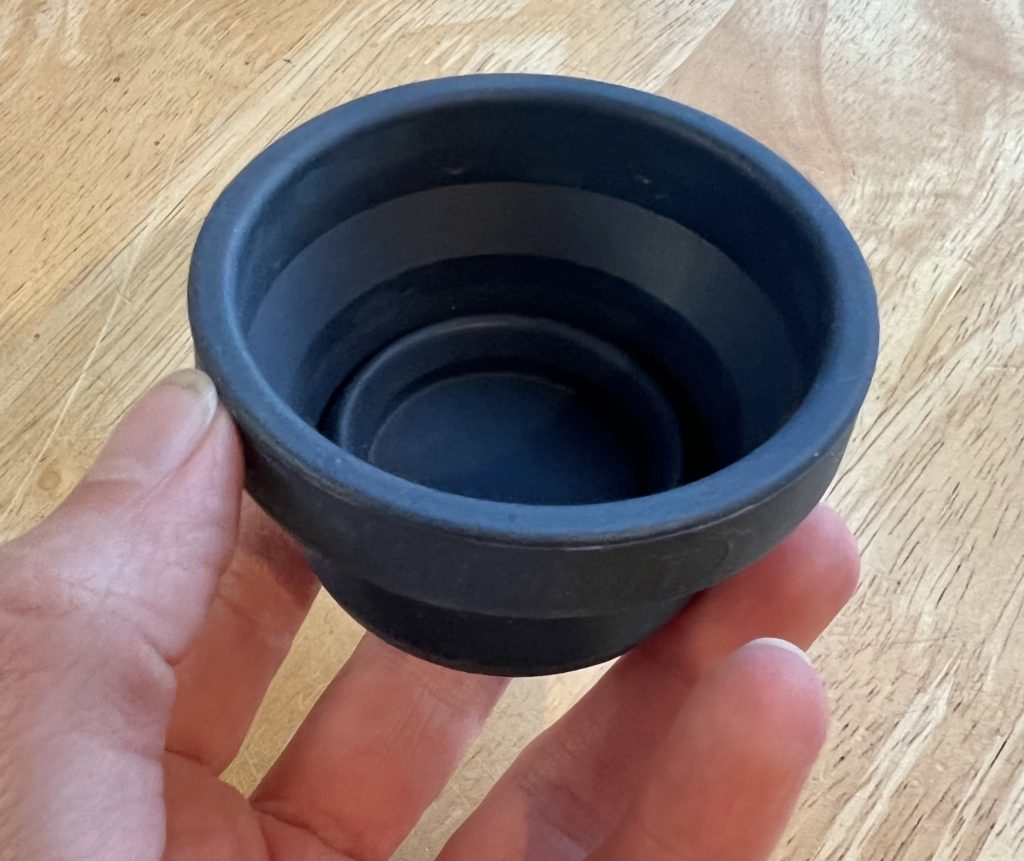
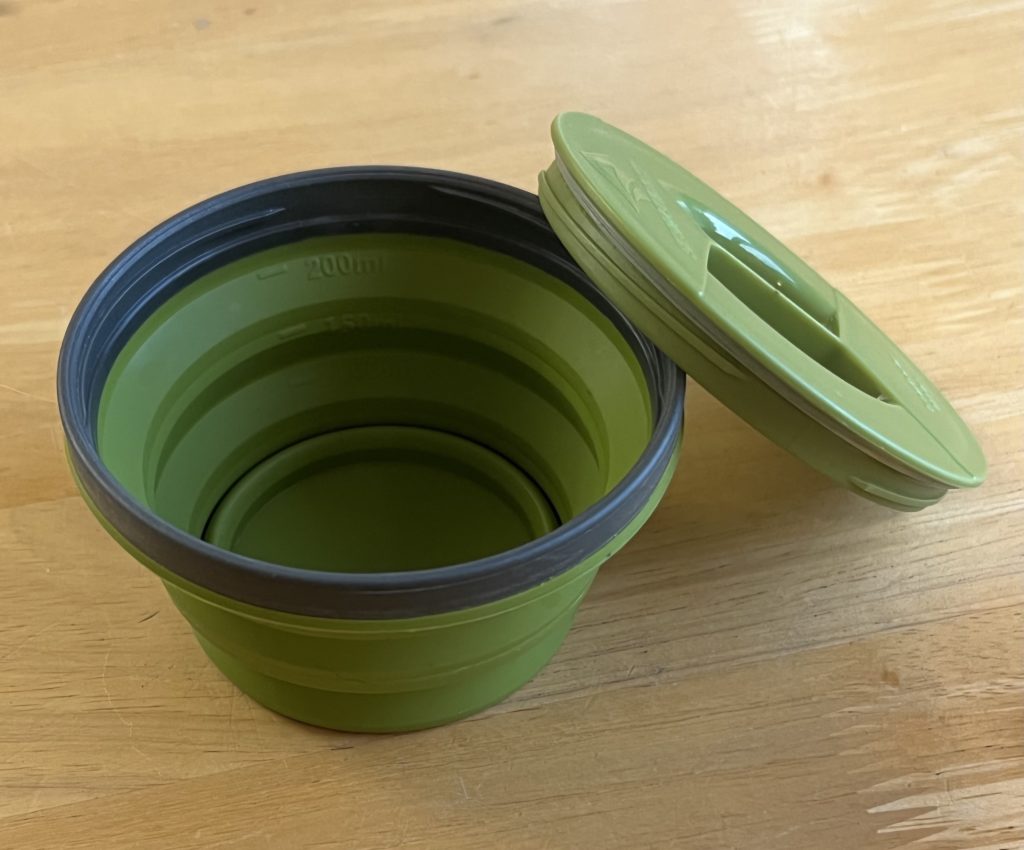
I meant it when I said you just need water, but where do you store it? To keep this portable watercolor painting kit, well, portable, I didn’t want to be toting dedicated water. My solution was collapsible cups. I have two different jars that I included here that I use for different scenarios. Both of these collapsible cups are from Sea to Summit. They are actually camping cups, or a camping shot glass as in the case of my tiny cup. Both of these cups I tend to not fully pop out. I leave the small, bottom-most ridge collapsed so that they have less chance of tipping over.
The tiny cup is the X-Shot, and I use this if I know the location where I’m painting isn’t at risk from a shot of paint water. This is mostly my yard or an area that doesn’t grow food. If there’s food growing in the vicinity or on a private property, I’ll bring the X-Seal & Go instead. It packs in flat just the same, the difference is when I’m done, I screw on the lid and the water leaves with me. The amount of paint in small sessions doesn’t accumulate to any level of notice, but not everyone agrees on what is risky and I like to err on the cautious (and courteous) side.
If you want to know more about how I judge my paint toxicity risk, I recommend reading the series of articles that Jackson’s Art Supplies published in 2014-15 when the EU considered banning cadmium in artists’ paints.
Here’s a short but important summary snippet:
“Cadmium in its pure form is highly toxic, but when cadmium is bound into a chemical compound like that used for artists colours it is not classified as hazardous by Reach, the EU body that advises on the use of chemicals.”
-Julie Caves
Wrapping Up This Portable Kit!
What would you include in a portable watercolor painting kit? Every artist has there own must haves, as well as supplies they can-live-without. I’m pretty happy with my picks so far, but for sure follow your own preferences. There’s a saying I really like in the hiking community which is appropriate.
“Hike your own hike!”
So enjoy, and I hope my insights may help you throw together a small kit of your own!
-Jill
